 Whatcom County
 New-Construction Windows Built for Edgemoor's Marine Climate
Edgemoor sits on wooded bluffs above Bellingham Bay, and that setting is exactly what makes it one of the more demanding places in Whatcom County to get windows right. The same big trees and water views that make the neighborhood desirable also mean shaded, slow-drying siding; long moss seasons; and homes catching wind-driven rain and salt-laden air off the bay for a good chunk of the year. When you're building new or adding on, the window install isn't just a product choice — it's a system that has to keep water out of the wall assembly for the next 30-plus years, in exactly this climate.
"New-construction windows" is a specific term in our trade. It refers to windows installed into a fully open, unfinished rough opening — typically during framing on a new build or a major addition — using a nailing fin fastened directly to the sheathing and integrated with the house wrap and flashing before siding goes on. That's different from a replacement or retrofit window, which gets installed into an existing finished opening after the old unit is removed. Getting the distinction right matters, because the two jobs use different products and different water-management details.
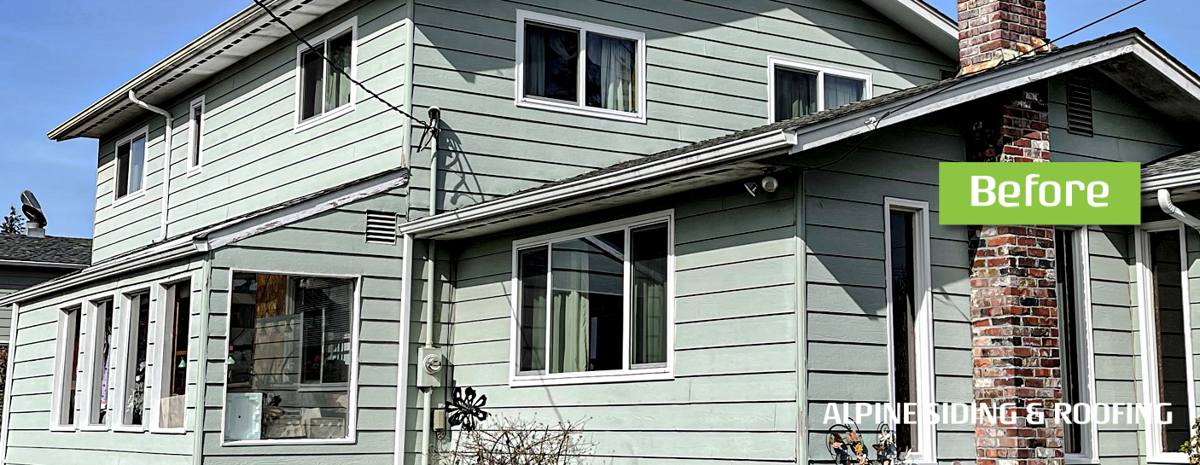
New-Construction vs. Replacement Windows
We get asked fairly often why we specify a different window and a different install method depending on whether a house is being framed new or already has finished walls. Here's the short version:
| Factor | New-Construction Window | Replacement Window |
|---|---|---|
| Frame type | Nailing-fin frame, fastened to sheathing | Flush-fin or block-frame, fits inside existing opening |
| Water management | Full flashing and WRB integration, built from scratch | Relies on existing flashing being sound |
| Best used for | New builds, additions, full wall re-sides | Window swaps where siding/trim stay in place |
| Access to wall assembly | Open — sill pan and flashing fully visible and correctable | Limited — hidden defects can be missed |
| Long-term risk if done wrong | Hidden rot behind new siding | Hidden rot behind existing siding |
For Edgemoor specifically, new-construction installs are the more forgiving scenario in one important way: because the wall is open, we can build the entire drainage plane — sill pan, WRB laps, flashing tape, and the window itself — as one continuous system with no shortcuts. That matters a lot more here than it does in a drier part of the state, because any gap in that system eventually shows up as rot, mold, or a soft spot in the sheathing behind the siding.
What Edgemoor Homes Actually Need From Their Windows
Salt Air and Metal Corrosion
Proximity to Bellingham Bay means airborne salt settles on exterior surfaces, and it's harder on unprotected fasteners, hinge hardware, and lower-grade cladding finishes than most homeowners expect. We factor this into hardware and fastener selection — corrosion-resistant fasteners and hardware finishes hold up noticeably better on bluff-facing elevations than standard-grade parts.
Driving, Wind-Driven Rain
Storms coming off the water don't just drop rain straight down — they push it sideways into the wall, which is a much tougher test for a window's water resistance rating than a calm vertical rain. This is where sill pan flashing and correct WRB shingle-lapping stop being optional details and become the difference between a dry wall cavity and a slow leak you don't see for years.
Long Moss Season
The dense tree canopy that gives Edgemoor its character also keeps a lot of exterior surfaces shaded and damp for much of the year, which is exactly what moss and algae need to take hold. On window trim and sills, prolonged moisture contact accelerates wood decay and can trap moisture against caulk joints. We account for this in product selection and detailing — sloped sills, drainage gaps, and finishes that don't hold moisture against the frame.
Anatomy of a Correct New-Construction Install
A window is only as good as the thirty minutes of flashing work that goes in around it before it's ever visible. The sequence we follow, in order:
- Rough opening check — verify the opening is square, plumb, and sized correctly before anything gets installed.
- Sill pan flashing — a sloped, corner-sealed pan at the bottom of the opening so any water that does get past the window drains back out, not down into the wall.
- WRB integration — house wrap and flashing tape lapped in the correct shingle order (top layer always over the layer below) so water sheds outward at every seam.
- Window set and fastening — nailing fin fastened per the manufacturer's schedule, with the unit shimmed level and plumb, not just tight against the opening.
- Head flashing — installed above the window and lapped under the WRB above it, which is the single most common detail we see missed or done backward on other jobs.
- Sealant and backer rod — a continuous, correctly sized bead at the right joints, not sealant used as a substitute for proper flashing.
- Interior air sealing — low-expansion foam or backer rod between the frame and rough opening to control both air leakage and condensation.
Every one of those steps is inspectable while the wall is still open. Once siding goes on, most of them are permanently hidden — which is exactly why doing them right the first time matters more here than almost anywhere else in the build.
Choosing Materials and Glass for This Climate
Frame Material
We install vinyl, fiberglass, and wood-clad windows, and each has real trade-offs rather than one clear winner. Vinyl is the most affordable and handles moisture well with no finish to maintain, but it flexes more with temperature swings and has fewer color options long-term. Fiberglass costs more but is dimensionally stable and holds paint or factory finish longer, which is an advantage in a climate this wet. Wood-clad gives the best interior look but carries the highest maintenance burden — any gap in the exterior cladding exposes wood to the same moss-season moisture we're trying to design around, so we're honest with clients about that upkeep before they commit to it.
Glass Packages
For a home exposed to wind off the bay, we typically steer clients toward dual-pane, low-E, argon-filled glass as the baseline, with laminated glass as an upgrade where wind noise or added impact resistance matters — bluff-facing rooms in particular. Low-E coatings help with year-round comfort and energy performance, which matters given how many overcast, heat-losing days Whatcom County gets.
Cost Factors
| Factor | Lower Cost | Higher Cost |
|---|---|---|
| Frame material | Vinyl | Fiberglass, wood-clad |
| Glass package | Standard dual-pane low-E | Triple-pane or laminated glass |
| Window size/shape | Standard rectangular | Large picture windows, custom shapes for view-oriented walls |
| Access | Ground-level, open framing | Upper stories, bluff-edge scaffolding needs |
| Flashing complexity | Standard wall assembly | Multiple wall planes, decks, or roof tie-ins near openings |
We'll walk through actual numbers for your specific plans during an estimate — broad, honest ranges only, no lowball figures meant to get a foot in the door and change later.
Our Process, Start to Finish
- Site visit and plan review — we look at your framing plans or existing structure, elevation exposure, and tree cover to flag anything that affects product or flashing choices.
- Product selection — we walk through frame material, glass package, and hardware options suited to your home's exposure, not a one-size-fits-all recommendation.
- Scheduling with your builder — for new builds, we coordinate directly with your general contractor so windows go in at the right point in the framing sequence, before WRB and siding close the wall up.
- Installation — flashing, setting, and sealing following the sequence above, by the same crew from start to finish.
- Walkthrough — we go over operation, hardware, and any care specific to the product installed before we call the job done.
Why a Crew That Already Works in Edgemoor Matters
Windows installed on paper specs alone, without local context, tend to underperform once they meet an actual Whatcom County winter. A crew that's already worked bluff-facing lots in Edgemoor knows which elevations take the worst wind-driven rain, how much shade a given lot's tree cover really produces, and what detailing has held up over time in this specific setting versus what looks fine on a spec sheet. We're also familiar with permitting and inspection expectations for this area, and we coordinate directly with general contractors on new builds so windows don't become the bottleneck in your framing schedule.
After Installation: Maintenance in a Moss-Prone, Salt-Air Neighborhood
A correct install dramatically reduces upkeep, but no window is entirely maintenance-free in this climate. A simple seasonal routine goes a long way:
- Rinse salt residue and airborne grime off exterior frames a couple of times a year, especially on bluff-facing sides.
- Clear moss, needles, and debris from sills and tracks before they hold moisture against the frame.
- Check exterior caulk joints annually for cracking or separation and have any gaps re-sealed promptly.
- Keep gutters and downspouts near window openings clear so overflow doesn't run down the wall face.
- Trim back branches or foliage that keep a window's exterior shaded and damp longer than necessary.
- Operate hardware (locks, hinges, tilt latches) periodically so moving parts don't seize from disuse in a wet climate.
If you're planning a new build or addition in Edgemoor and want windows installed by a crew that treats the flashing details as seriously as the product itself, we're happy to take a look at your plans. Reach out for a free, no-pressure estimate using the form below.