 Whatcom County
New-Construction Windows for Bellingham Homes
"New-construction windows" is a specific term, and it matters which one your project actually needs. These are windows installed with a nailing flange (also called a nail fin) directly into open framing and sheathing — before or during siding installation, rather than into an existing finished wall. You'll need this type of window if you're building a new home in the Bellingham area, adding a room, converting a porch, or doing a full siding tear-off where the sheathing is already exposed. It is a different job than a pocket replacement window, and treating it like one is where a lot of long-term water problems start.
Because Bellingham sits on Bellingham Bay with salt-laden air, frequent driving rain off the Sound, and a long wet season that keeps moss and algae active for much of the year, the window opening itself has to be built correctly from the framing outward. The window is only as good as the flashing, house wrap integration, and sill detailing underneath it — and in this climate, those details get tested constantly.
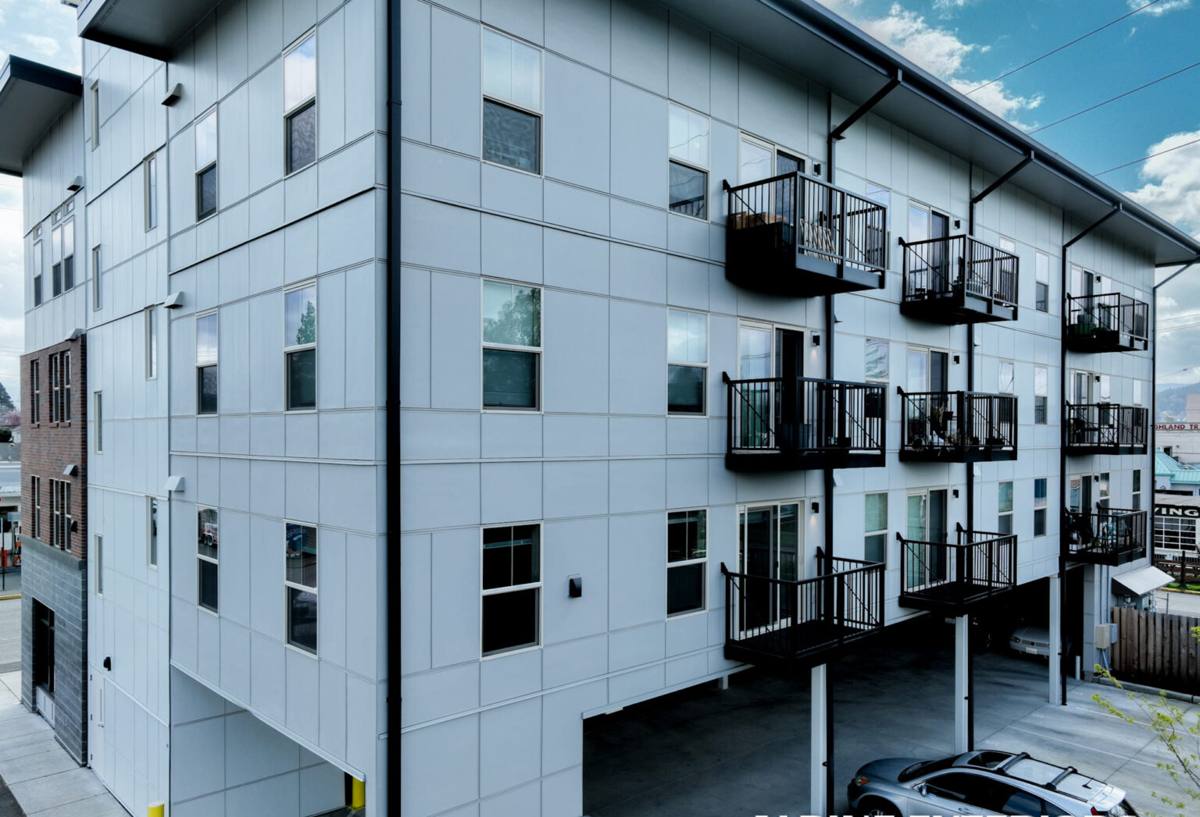
Why Whatcom County's Climate Changes the Job
A lot of window installation advice online is written for drier climates where a missed flashing detail might not show up for years. That's not the case here. A few things about our local conditions push us to be stricter about how new-construction windows go in:
- Salt air corrosion: Homes near the water see accelerated corrosion on unprotected fasteners, low-quality flashing tape, and exposed metal trim. Materials rated for coastal exposure hold up; generic hardware store fasteners often don't.
- Driving rain: Wind-driven rain off the Sound doesn't just fall on a window — it gets pushed sideways and upward into gaps that would stay dry in a calmer climate. Sill pans and proper flashing shingle-lap order are non-negotiable here.
- Long moss and algae season: Damp, shaded conditions for much of the year mean any spot where water sits — a poorly sloped sill, a clogged weep hole — becomes a growth site for moss and mildew, not just a cosmetic issue but a sign of trapped moisture.
- Humidity and condensation: Consistent moisture in the air makes proper interior air sealing around the window frame as important as the exterior weatherproofing.
None of this means Bellingham is an unusually hard place to install a window. It means the margin for error on flashing sequence and material choice is smaller than it would be somewhere drier, and it's worth hiring people who install windows here regularly, not occasionally.
New-Construction vs. Replacement Windows
Homeowners sometimes assume "new windows" is one product. In practice, the frame type has to match the wall condition you're starting from.
| Factor | New-Construction (Nail-Fin) | Replacement (Pocket) |
|---|---|---|
| Best used for | New builds, additions, full siding tear-offs | Existing finished walls, siding staying in place |
| Installed into | Open framing and sheathing | Existing window frame, from the inside |
| Flashing access | Full access to house wrap and sheathing | Limited; relies on existing flashing condition |
| Glass area | Full opening size, no reduction | Slightly smaller due to frame-in-frame fit |
| Typical trigger | New construction, additions, siding replacement projects | Window upgrade only, siding untouched |
If you're already planning a siding project in the Bellingham area, that's often the right time to switch to new-construction windows even on an older home, because the wall is already opened up and the flashing can be redone correctly instead of built around.
What a Correct Installation Actually Involves
The window unit itself is usually the easy part. The sequence of work around it is where quality shows up years later. A correct new-construction window installation, done in the order that actually sheds water, looks like this:
- Rough opening check. Confirm the framed opening is square, level, and sized correctly with proper clearance — not just "close enough."
- Sill pan installation. A sloped, sealed pan at the bottom of the opening gives any water that gets past the window a way out instead of a place to collect.
- House wrap integration. The water-resistive barrier gets cut and flashed so water sheds over each layer below it, shingle-style — never taped in a way that traps water behind the wrap.
- Window flange sealing and fastening. The nailing flange is sealed and fastened per the window manufacturer's instructions, which affects both weatherproofing and warranty validity.
- Head flashing. A drip cap or flashing above the window directs water around the top corners, which are the most common failure point on any window.
- Interior air sealing. Low-expansion foam or backer rod and sealant around the interior frame perimeter — done carefully so it doesn't bow the frame.
- Exterior trim and siding tie-in. Trim and siding are installed to overlap the flashing correctly, keeping the whole water management path intact.
Skipping or reordering any of these steps is how you end up with a window that looks fine for a few years and then shows staining, soft trim, or interior moisture around the frame — usually right when the next round of driving rain finds the gap.
Choosing Frame Materials for a Coastal Climate
We don't push one brand or material as universally "best" — the right choice depends on your home, budget, and how close you are to the water. What we do care about is being upfront about trade-offs:
- Vinyl: Cost-effective, low maintenance, and performs well in most Whatcom County settings. On homes with heavy direct salt spray exposure, we pay closer attention to fastener and hardware corrosion resistance.
- Fiberglass: More dimensionally stable across temperature swings and generally holds paint and finishes well over time, at a higher upfront cost than vinyl.
- Wood-clad: Attractive and traditional-looking, but the cladding seams and exterior wood components need consistent maintenance in a climate this wet — we're honest with clients that this option asks more of the homeowner over time, not that it's a bad product.
Whatever frame material you choose, the glass package matters just as much in this climate — a well-sealed double or triple-pane unit with a good low-E coating does more for comfort and condensation control here than a marginal upgrade in frame material alone.
Our Process, Start to Finish
For a Bellingham new-construction or full siding-replacement project, our approach generally runs like this:
- On-site assessment: We look at the framing, existing wall assembly (if any), and exposure — is this side of the house catching the prevailing rain and salt air, or fairly sheltered?
- Product selection walkthrough: We go over frame material, glass package, and sizing options honestly, including what each choice means for maintenance down the road.
- Flashing and sill pan plan: Before a single window is set, we confirm the water management sequence for that specific opening — corners, sills, and window-to-siding transitions.
- Installation: Windows are set, flashed, and sealed following the sequence above, not shortcuts based on what's fastest.
- Final inspection and cleanup: We check operation, seals, and trim before calling the job done, and walk through anything the homeowner should know about care going forward.
Why a Bellingham-Based Crew Matters Here
Window flashing details that work fine in a drier inland climate can fail here within a few wet seasons. A crew that works Whatcom County regularly already knows which corners of a house typically take the worst of the driving rain, how much clearance to leave for the moisture swings we get, and which fastener and sealant products actually hold up against salt air near the water. That's not something you can fully substitute with a manufacturer's generic install manual — it comes from doing this work in this specific climate, on this specific coastline, repeatedly.
It also means faster response if something needs attention after the fact. A local crew can come back to check a seal or adjust trim without a long drive, and has a reputation in the area worth protecting.
Cost Factors to Expect
Every project is different, but the main variables that move the price on a new-construction window job are consistent:
| Factor | Impact on Cost |
|---|---|
| Number and size of window openings | Primary driver of total material and labor cost |
| Frame material (vinyl vs. fiberglass vs. wood-clad) | Vinyl typically lowest, wood-clad typically highest |
| Glass package (double vs. triple-pane, coatings) | Higher-performance glass adds cost but improves comfort and efficiency |
| Wall exposure and flashing complexity | Corners, high-exposure walls, and complex trim details add labor time |
| Scope (standalone job vs. part of a siding project) | Bundling with siding replacement can reduce overall labor overlap |
We'd rather walk your specific project and give you real numbers than quote a broad range that doesn't reflect your home.
A Homeowner's Pre-Installation Checklist
Before work starts, it's worth confirming a few things with whoever you hire, whether that's us or someone else:
- Is the crew installing true new-construction (nail-fin) windows correctly matched to an open-framing condition, not adapting a replacement window into a rough opening?
- Will a sloped sill pan be installed at every opening, not just caulked at the bottom?
- How will house wrap and flashing be sequenced to shed water downward and outward at every layer?
- What fastener and flashing tape products are being used, and are they rated for coastal/salt-air exposure?
- Does the installation method match the window manufacturer's instructions closely enough to preserve the warranty?
- Is a final walkthrough included where operation, seals, and trim are checked together before the job is considered finished?
If you're planning new-construction windows for a build, addition, or siding project in Bellingham or elsewhere in Whatcom County, we're happy to take a look and talk through what your specific home needs — no pressure, no hard sell, just a straight assessment and a free estimate.