 Whatcom County
 Why Siding Wears Differently in the Columbia Neighborhood
Homes in the Columbia neighborhood face a specific combination of weather that most siding products were never designed around. Whatcom County sits close enough to the water that salt-laden air reaches inland further than most homeowners assume, and it works on siding year-round, not just during storms. Add the region's long stretch of driving rain each fall and winter, plus a moss season that can run from October through May in shaded, north-facing spots, and you have an environment that finds every weakness in a siding system within a few years instead of a few decades.
This isn't a reason to panic about your siding — it's a reason to be specific about what you install and how it's installed. A product and installation method that work fine in a dry inland climate can fail early here, and a repair that would hold up elsewhere can fail here in a single wet season. That's the lens we use on every Columbia-area job.
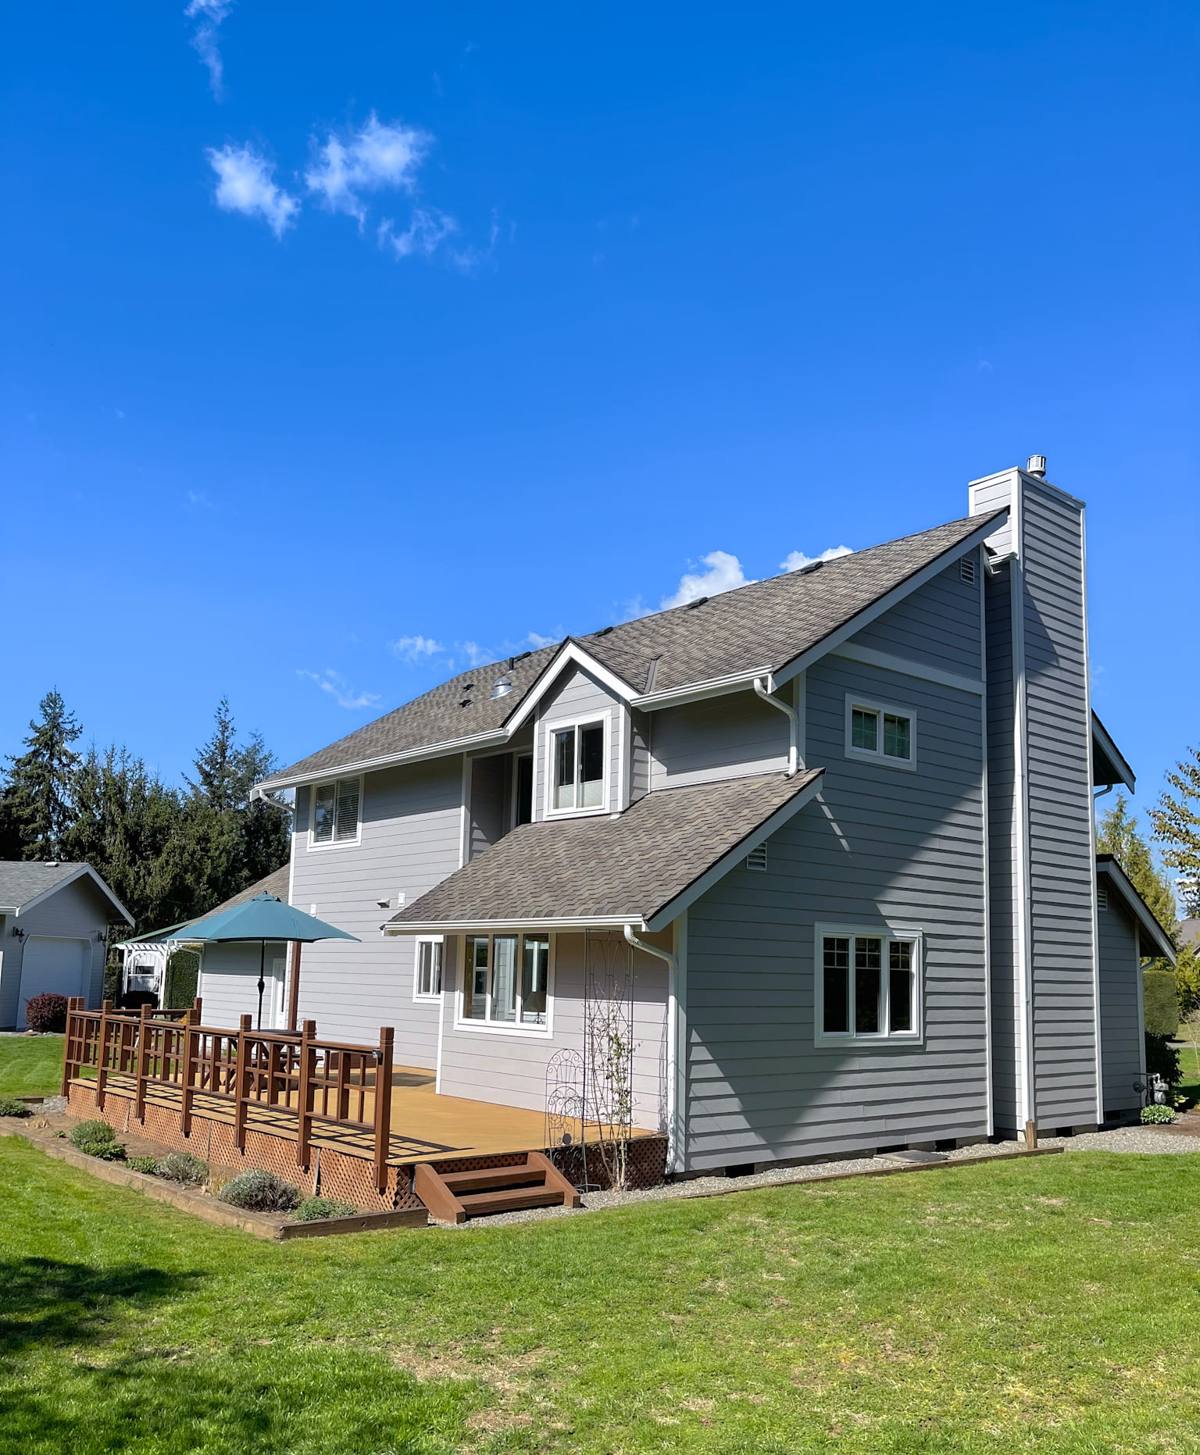
How Salt Air, Rain, and Moss Actually Damage Siding
Salt Air
Salt-laden moisture is corrosive to fasteners, flashing, and any metal trim components. It also accelerates the breakdown of paint films and caulk, which is why homes closer to open water tend to need repainting sooner than homes further inland — even when the siding material itself is identical. Over time, salt air also finds its way into hairline gaps around fasteners and trim, carrying moisture with it.
Driving Rain
Whatcom County's rain doesn't just fall straight down — wind-driven rain hits siding at an angle, which means it gets pushed up under laps, around trim, and into any gap in caulking or flashing that a calmer climate would never expose. Siding systems depend on gravity to shed water downward and outward; driving rain works against that assumption constantly, which is why proper overlaps, flashing details, and drainage gaps behind the siding matter so much more here than in drier regions.
Moss and Prolonged Moisture
Moss itself doesn't eat siding, but it holds moisture against the surface for weeks at a time, especially on north- and west-facing walls that get less sun to dry them out. Prolonged dampness is what actually causes damage — it swells wood-based products, breaks down adhesives, and creates the ideal environment for the mold and mildew that show up as dark streaking. A siding material that can tolerate sitting damp for extended periods is a real advantage in a moss-prone climate, not a marketing detail.
Signs a Columbia-Area Home Needs Replacement, Not Just Repair
Not every issue means a full siding replacement. But in this climate, certain signs mean patching the problem will just mean redoing the work in a year or two.
- Soft or spongy spots when you press on the siding, especially near the bottom courses or under windows — usually trapped moisture has already started breaking down the substrate.
- Persistent dark streaking or green growth that returns within weeks of cleaning, even on newer siding — a sign the surface is staying wet longer than the material can handle.
- Paint that won't hold for more than two or three years between coats, particularly on walls facing prevailing wind and rain.
- Visible cupping, buckling, or gaps opening up between boards, which lets wind-driven rain behind the siding.
- Rot at butt joints, corners, or around penetrations like hose bibs and vents — these are the spots where water intrusion shows up first.
- Rising energy bills with no other explanation, which can point to a compromised weather barrier behind failing siding.
If you're seeing two or more of these, it's worth having someone look at the wall assembly, not just the surface — because in a wet climate, surface damage is often the last symptom to appear, not the first.
What a Correct Siding Replacement Actually Involves
A siding replacement done right is not just swapping old boards for new ones. In a climate like this, the work you don't see matters more than the work you do see.
1. Full Tear-Off and Inspection
We remove the existing siding down to the sheathing so we can actually see the wall — not guess at its condition from the outside. This is when hidden rot, old moisture damage, or failed flashing from a previous installation gets found and dealt with, rather than sealed behind new siding where it will keep spreading.
2. Sheathing Repair
Any sheathing that's soft, delaminated, or water-damaged gets cut out and replaced before anything new goes up. Installing new siding over compromised sheathing just resets the clock on a problem that's already there.
3. Water-Resistive Barrier (WRB)
A new weather-resistive barrier goes over the sheathing, lapped correctly from the bottom up so water is always directed outward and down — critical in a region where wind can drive rain upward under horizontal laps if this isn't done correctly.
4. Flashing at Every Penetration
Windows, doors, hose bibs, vents, and any other penetration through the wall gets properly flashed and integrated with the WRB before siding goes over it. This is one of the most common places corners get cut on lower-quality installs, and one of the first places driving rain finds its way in.
5. Drainage Plane
A rainscreen or furring strategy that creates a small air gap behind the siding lets any moisture that does get past the outer layer drain and dry out, instead of sitting trapped against the back of the siding — which matters enormously in a climate with a long wet season.
6. Siding Installation to Manufacturer Spec
Correct fastener placement, gapping, and clearances from grade, decks, and roof lines — installed per the manufacturer's published specifications, which is also what keeps the product's warranty valid.
Why We Install Only James Hardie Fiber Cement
We standardized on James Hardie fiber cement siding for every home we work on, including Columbia-area projects, and we don't install vinyl, LP SmartSide, primed wood, or cedar. That's not a marketing preference — it's a decision based on what actually holds up to salt air, driving rain, and long moss seasons without an outsized maintenance burden.
Fiber cement is non-combustible and dimensionally stable, meaning it doesn't swell, cup, or warp the way wood-based siding can when it stays damp for weeks at a time. Hardie's ColorPlus factory finish is baked on under controlled conditions and holds color and adhesion far longer than field-applied paint, which matters directly here — less frequent repainting in a climate that's hard on paint films to begin with. Hardie's HZ5 product line is engineered specifically for regions with prolonged moisture exposure, which describes this part of Washington well. The company backs the product with a strong, transferable warranty, which only holds up if the installation itself is done to spec — another reason installation quality and product choice have to be treated as one decision, not two.
We're happy to talk through the honest trade-offs of other siding materials if you're weighing options — but for our own crews, on our own installs, fiber cement is what goes on the wall.
Our Process on a Columbia-Area Replacement
- On-site assessment. We walk the exterior, check for soft spots, look at flashing and grade clearances, and talk through what we're seeing with you directly.
- Written estimate. A clear scope of work and pricing, broken down so you know what you're paying for — tear-off, repair, materials, and labor.
- Material selection. We help you choose the right Hardie product line, plank width or panel style, and ColorPlus color for your home and exposure.
- Tear-off and wall inspection. Old siding comes off, the wall gets inspected, and any damaged sheathing gets identified and scoped before we move forward.
- Repair and prep. Sheathing repairs, new WRB, and flashing details get installed and inspected before any new siding goes up.
- Installation. Siding goes on to manufacturer specification, with attention to fastening, gapping, and clearances that protect the warranty.
- Final walkthrough. We walk the finished job with you so you can see the details and ask questions before we consider it done.
What Drives the Cost of a Siding Replacement
Every home is different, so we don't quote prices without seeing the house — but these are the factors that move the number most, and understanding them helps you evaluate any estimate you get.
| Factor | Why It Matters |
|---|---|
| Total square footage | Larger wall area means more material and labor, the most direct driver of overall cost. |
| Condition of the sheathing underneath | Hidden rot or moisture damage found during tear-off adds repair scope that can't be known until the old siding is off. |
| Number of penetrations and trim details | Windows, doors, corners, and vents all require flashing and precise trim work, which adds labor time. |
| Siding profile and finish chosen | Lap width, panel style, and ColorPlus color options carry different material costs. |
| Wall height and access | Multi-story sections, steep grade, or limited access add equipment and labor time. |
| Drainage plane approach | Adding a rainscreen gap behind the siding is a worthwhile upgrade in this climate and adds modest cost for meaningful long-term benefit. |
Be cautious of any estimate that's dramatically lower than others for the same scope of work — in this climate, that gap usually gets made up by skipping flashing details, WRB laps, or sheathing repair that won't show up as a problem until a wet season or two later.
Choosing a Contractor Who Actually Works This Area
A crew that mostly works drier inland climates can do a technically fine installation and still get details wrong that only matter here — flashing sequencing for wind-driven rain, drainage planes for moss-prone shaded walls, fastener choices that hold up to salt air. Experience with Whatcom County conditions specifically is worth asking about directly.
- Do you have experience installing in coastal or high-moisture climates specifically, not just siding in general?
- Will you show me the sheathing and framing before it's covered back up, so I know what condition it's actually in?
- What's your approach to flashing around windows, doors, and penetrations?
- Do you install a drainage plane or rainscreen behind the siding, and why or why not?
- Are you a manufacturer-recognized installer for the siding product you're recommending?
- What does your workmanship warranty cover, and for how long, separate from the manufacturer's product warranty?
- Can I get the full scope of work in writing before any tear-off begins?
Maintaining Hardie Siding After Installation
One of the practical benefits of fiber cement in this climate is how little ongoing maintenance it needs compared to wood-based alternatives — but "little" isn't "none." A yearly rinse to knock off moss and organic buildup, especially on shaded north-facing walls, keeps growth from establishing and holding moisture against the surface. Check caulking at trim joints and penetrations annually, since caulk is usually the first thing to give out in a wet climate, well before the siding itself. Keep an eye on grade clearance — soil, mulch, or plantings that build up against the bottom of the siding over time should be pulled back, since ground contact is one of the fastest ways to introduce moisture problems regardless of the siding material.
Get a Straight Answer for Your Home
If you're seeing early signs of trouble on a Columbia-area home, or you're just planning ahead for a home that's due, we're glad to take a look and give you a straightforward assessment — no pressure, no inflated scope. Fill out the form below for a free estimate, and we'll walk you through exactly what your home needs and why.