 Whatcom County
Building New in Columbia? Get the Windows Right the First Time
New construction is the one chance to install windows correctly from the studs out, before siding, trim, and interior finishes lock everything in place. In the Columbia neighborhood and the surrounding parts of Whatcom County, that first installation matters more than it does in drier inland climates. Get the flashing, the flange integration, or the sill detail wrong on a new build here, and you won't see the consequences for a year or two — by then the drywall is painted and the siding is caulked shut around a problem that's now expensive to reach.
We install new-construction windows on homes going up in and around Columbia regularly, and we build our process around one fact: this is a marine climate with salt-laden air off the bay, long stretches of driving, wind-blown rain, and a moss season that can run most of the year. Windows here don't just need to look good and seal tight on install day — they need a water-management system behind them that keeps working for decades.
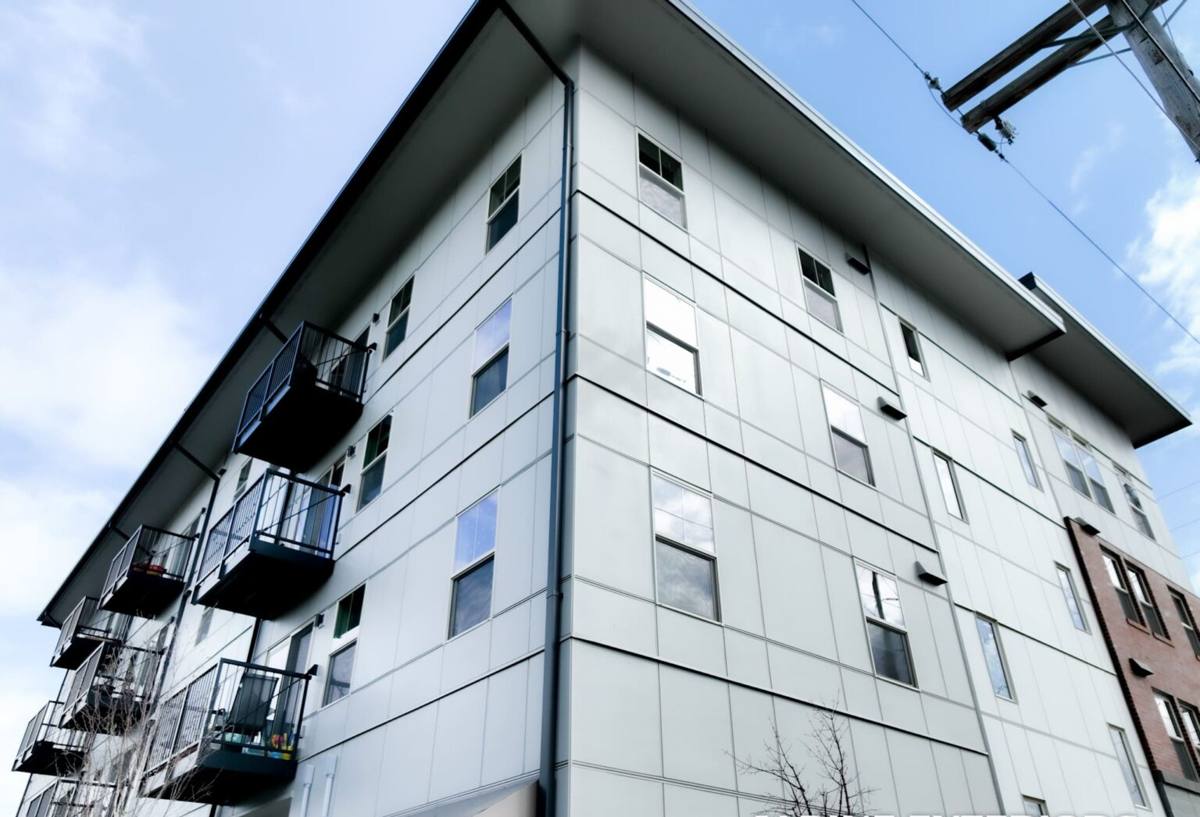
What Whatcom County's Climate Actually Demands
Salt Air and Metal Components
Proximity to Bellingham Bay means airborne salt is a real factor for anything metal on the exterior of a home — window hardware, flashing, fasteners, and cladding trim. Lower-grade fasteners and hardware corrode faster here than they would twenty miles inland. We spec corrosion-resistant fasteners and hardware as standard on new builds in this area, not as an upgrade.
Driving, Wind-Blown Rain
Whatcom County rain doesn't fall straight down for much of the year — it comes sideways, driven by wind off the water. That means water pressure against a window's upper flange and side jambs is higher than a simple "shed the water down and out" flashing detail can handle. New-construction windows need a properly lapped weather-resistive barrier, a sloped sill pan, and flashing tape sequenced correctly at every seam, or wind-driven rain will find its way behind the window assembly.
Long Moss and Mildew Season
Constant moisture and shade around mature landscaping in established neighborhoods like Columbia create ideal conditions for moss and mildew growth on horizontal surfaces — including window sills and the tops of trim boards. This isn't just cosmetic. Moss and organic growth hold moisture against wood and composite trim far longer than bare material would, accelerating rot at exactly the joints where a window meets its trim. We detail sills and trim caps to shed water quickly and avoid flat surfaces that invite buildup.
New-Construction vs. Replacement: Why the Install Method Is Different
New-construction windows have a nailing flange around the perimeter that gets integrated directly into the wall's water-resistive barrier before siding goes on. This is different from a replacement or retrofit window, which gets inserted into an existing opening after the fact. On a new build, we have full access to the rough opening and the wall sheathing, which means we can build the water-management system in layers, from the ground up, instead of working around finished siding.
The Layers That Actually Keep Water Out
- Sloped sill pan: A rigid or flexible pan installed at the base of the rough opening, sloped slightly to the exterior, so any water that gets past the window drains out instead of pooling against the sill.
- Corner and jamb flashing tape: Applied in the correct shingle-lap sequence — bottom first, then sides, then top — so water always drains over the layer below it, never under.
- Nailing flange integration: The flange gets taped or flashed into the house wrap in the same shingle-lap order, tying the window into the wall's overall drainage plane rather than sitting as an isolated component.
- Head flashing with a drip cap: Directs water running down the wall above the window out and away from the top of the frame, which matters most in driving-rain conditions.
- Backer rod and low-expansion sealant at the interior air seal: Keeps conditioned air in and stops condensation from forming inside the wall cavity.
Skip or rush any one of these layers and the window may look fine and test dry on a calm day — but it won't hold up through a Whatcom County winter of sustained wind and rain.
Choosing Window Materials for This Climate
Every window material has trade-offs. In a salt-air, high-moisture environment, some perform with less long-term maintenance than others. We'll walk through the honest pros and cons for your project rather than push one product line.
| Material | Moisture & Salt Air Performance | Maintenance | Typical Fit |
|---|---|---|---|
| Vinyl | Good — won't rot or corrode; seams can be a weak point if not well-engineered | Low | Budget-conscious new builds, rental or spec construction |
| Fiberglass | Excellent — dimensionally stable, resists moisture and salt exposure well | Low | Higher-end new construction, homes closer to the bay |
| Wood-clad (aluminum or vinyl exterior) | Good on the exterior face, but any breach in the cladding exposes wood to rot risk | Moderate — cladding seams need periodic inspection | Homeowners prioritizing interior wood aesthetics |
| Aluminum | Fair — durable but a poor thermal performer and prone to condensation without a thermal break | Low | Limited use; usually not our first recommendation for this climate |
Our default guidance for new construction in the Columbia area is vinyl or fiberglass with a documented drainage path built into the frame design, paired with the flashing details above. We're honest that wood-clad windows can be a fine choice for the right homeowner, but we'll explain the added maintenance burden of keeping cladding seams sealed in a wet climate before you commit.
Our New-Construction Installation Process
1. Rough Opening Check
Before any window arrives on site, we verify the rough opening is square, plumb, and sized correctly against the actual window unit — not just the plans. Framing tolerances vary, and catching a discrepancy now avoids forcing a window into an out-of-square opening later.
2. Sill Pan and Flashing Sequence
We install the sloped sill pan and build out the flashing layers in the correct shingle-lap order described above, tied into the house wrap that's already on the wall.
3. Set, Shim, and Fasten
The window gets set into the opening, shimmed level and plumb at the manufacturer's specified fastening points, and secured through the nailing flange — not just caulked in place.
4. Head Flashing and Weather Barrier Integration
Drip cap flashing goes in above the unit, and the house wrap above is lapped back over the flange so the whole assembly sheds water downward and outward, matching the drainage plane of the rest of the wall.
5. Interior Air Seal and Insulation
We seal the gap between the frame and rough opening with backer rod and low-expansion foam or sealant — enough to stop air movement and condensation risk, without over-filling and bowing the frame.
6. Final Check
Every window gets operated, checked for square, and inspected against the flashing sequence before we move on. Problems are far cheaper to fix before siding goes on than after.
What This Costs, and What Drives the Number
New-construction window pricing depends on more than the window unit itself. Broad cost drivers on a project in this area include:
| Factor | Why It Matters |
|---|---|
| Window count and size | Larger openings and more units mean more material and labor hours |
| Material (vinyl, fiberglass, wood-clad) | Unit cost varies significantly by frame material and glazing package |
| Glazing package | Low-E coatings and gas fills improve performance but add cost per unit |
| Wall height and access | Second-story or vaulted openings require more staging and time |
| Flashing and sill pan complexity | Doing the water-management details right takes real labor time — it's not optional in this climate |
We'll give you a written, itemized estimate before work starts, broken down so you can see exactly what you're paying for.
A Homeowner's Checklist Before Windows Go In
- Confirm rough openings match the ordered window sizes before delivery, not after
- Ask your contractor to walk through the specific flashing sequence they'll use, step by step
- Choose a frame material with your local climate — not just your budget — in mind
- Verify fasteners and hardware are corrosion-resistant, especially on homes closer to the water
- Request the sill pan and flashing photos be documented before siding covers them
- Ask how sills and trim will be detailed to avoid flat, moss-prone surfaces
Why a Crew That Already Works Columbia Makes a Difference
A contractor who works new construction across Whatcom County regularly has already seen how framing crews, siding installers, and window flashing details need to line up on a real job site — not just in a manual. We know what driving rain off the bay does to a poorly lapped flange, and we build our sequencing to account for it before problems start, not after a callback. That local pattern recognition is the difference between a window install that looks fine at closing and one that's still performing correctly ten winters later.
If you're building new in the Columbia area and want windows installed with the flashing and drainage details this climate actually requires, we're happy to take a look at your plans and walk the site. Reach out for a free, no-pressure estimate using the form below.